How to Descale a Coffee Maker (Step by Step)
 Tommie Chaney·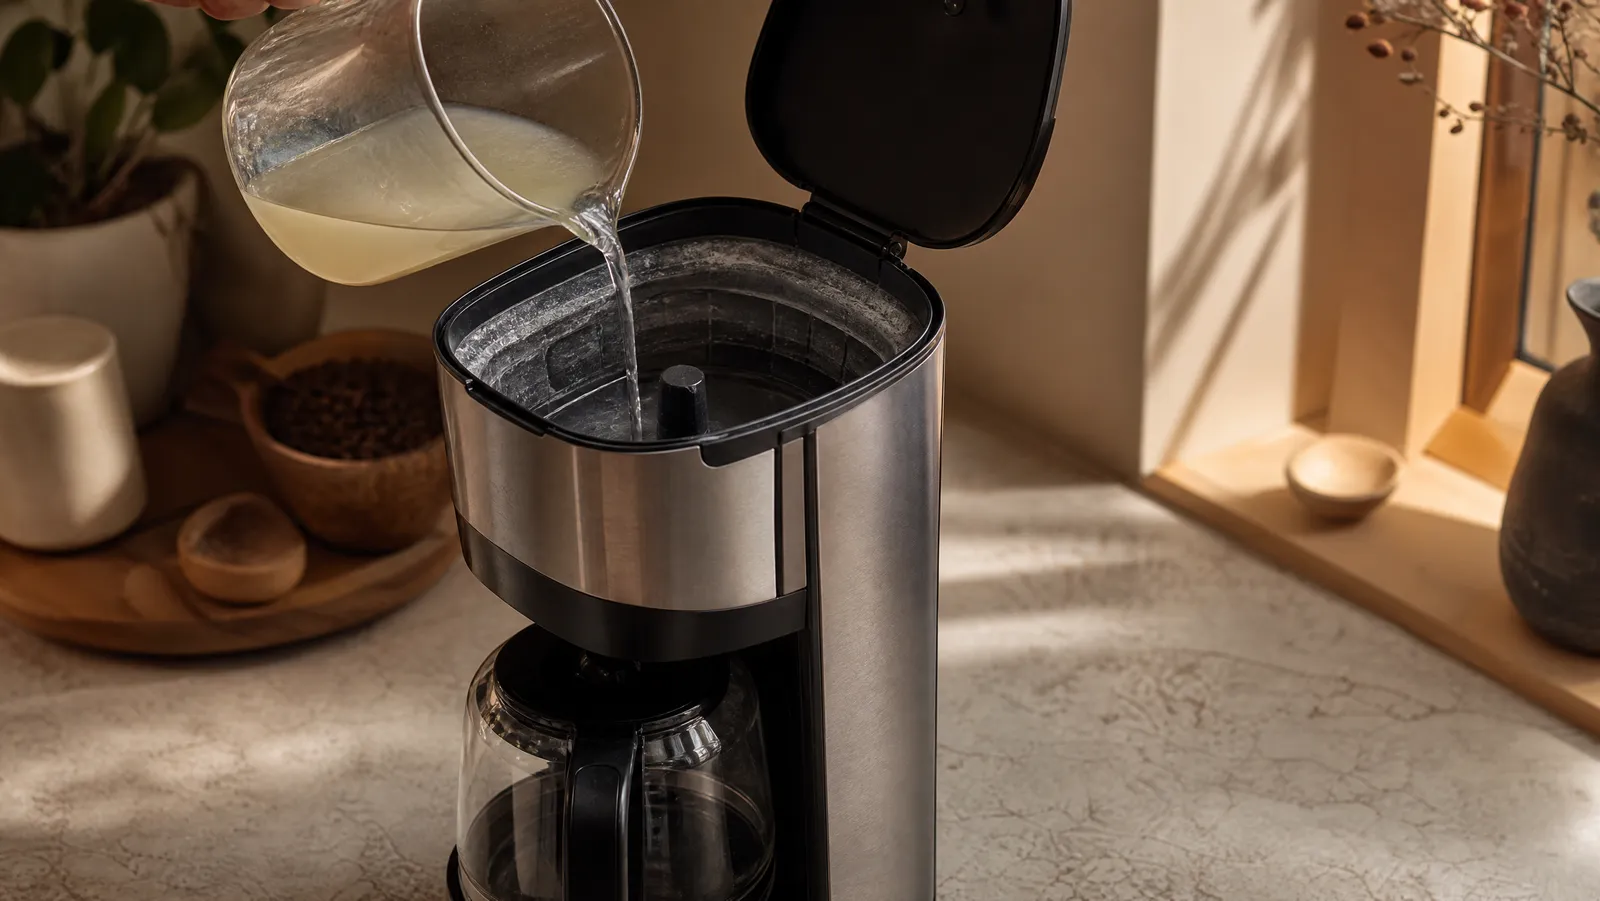
Affiliate disclosure: Sweeter Grind is a participant in the Amazon Services LLC Associates Program. We may earn commissions on qualifying purchases at no extra cost to you.
Your coffee maker isn't dirty where you can see it.
Descaling a coffee maker means running a mild acid solution — a commercial descaler, or diluted white vinegar on machines that allow it — through the water path to dissolve hardened mineral deposits, then flushing everything out with two or three clean-water cycles. Start to finish it takes 45 to 60 minutes, and most of that is waiting.
This is the whole procedure, plus the parts most guides skip: what scale actually does to your brew temperature, which manufacturers explicitly forbid vinegar in writing, and the specific mistakes that turn routine maintenance into a repair bill. It's one job inside the larger project of how to clean and descale a coffee maker — this article owns the water path.
The short version on how often you should descale: every three to six months for most home machines, sooner on hard water. Keurig's support documentation puts it at every 3 to 6 months, or whenever the descale light comes on.
What Descaling Actually Does
Scale isn't grime. It's rock.
Hard water carries dissolved calcium and magnesium. Heating that water drives calcium carbonate out of solution — it is one of the few common compounds that gets less soluble as water gets hotter — and water-treatment guidance generally puts the point where scale formation accelerates sharply at around 140°F (60°C). It deposits on heating elements, boilers, valves and tubing as a limestone-like crust. Every brew cycle adds a microscopically thin layer. Nothing looks wrong for a year. Then everything is wrong at once.
How fast it happens is almost entirely a function of your tap water. Hardness is measured in grains per gallon (gpg) or parts per million, where one grain per gallon equals about 17.1 ppm; water above roughly 7 gpg is classed as hard. For coffee specifically the target is far lower: the Specialty Coffee Association's water standard calls for 75–250 ppm total dissolved solids with 150 ppm as the sweet spot, and Third Wave Water recommends a stricter 35–85 ppm total hardness (about 2–5 gpg) for espresso machines. If your water sits at the hard end, you're not on a six-month schedule — you're on a two-month one. Our guide to why water quality matters for coffee covers the mineral side in depth.
Here's the part competing articles leave out. Scale is a thermal insulator. Published thermal-conductivity figures put calcium carbonate scale at roughly 2.2 W/m·K against about 50 W/m·K for steel — more than an order of magnitude worse at moving heat. A scaled heating element therefore has to run hotter and longer to deliver the same water temperature, and often simply fails to get there.
That matters because the window is narrow. The Specialty Coffee Association specifies a brew temperature of 195–205°F (90–96°C), and its home brewer certification program requires machines to reach at least 197.6°F (92°C) within the first minute and stay below 204.8°F (96°C). A machine brewing at 185°F isn't making weak coffee by accident. It's under-extracting — which is why scaled machines produce coffee that tastes sour, thin and vaguely salty no matter how good the beans are.
One caveat up front: descaling only touches the water path. It does nothing for stale coffee oils in your brew basket, and nothing at all for your grinder, which is a separate job with a separate method — see how to clean a burr grinder.
Signs Your Coffee Maker Needs Descaling
- The brew cycle is getting longer. A pot that used to take six minutes now takes nine. Narrowed tubing is the usual cause, and it's the earliest reliable signal.
- Sputtering, spitting, or a pulsing stream. Steam is forming where water should be flowing smoothly.
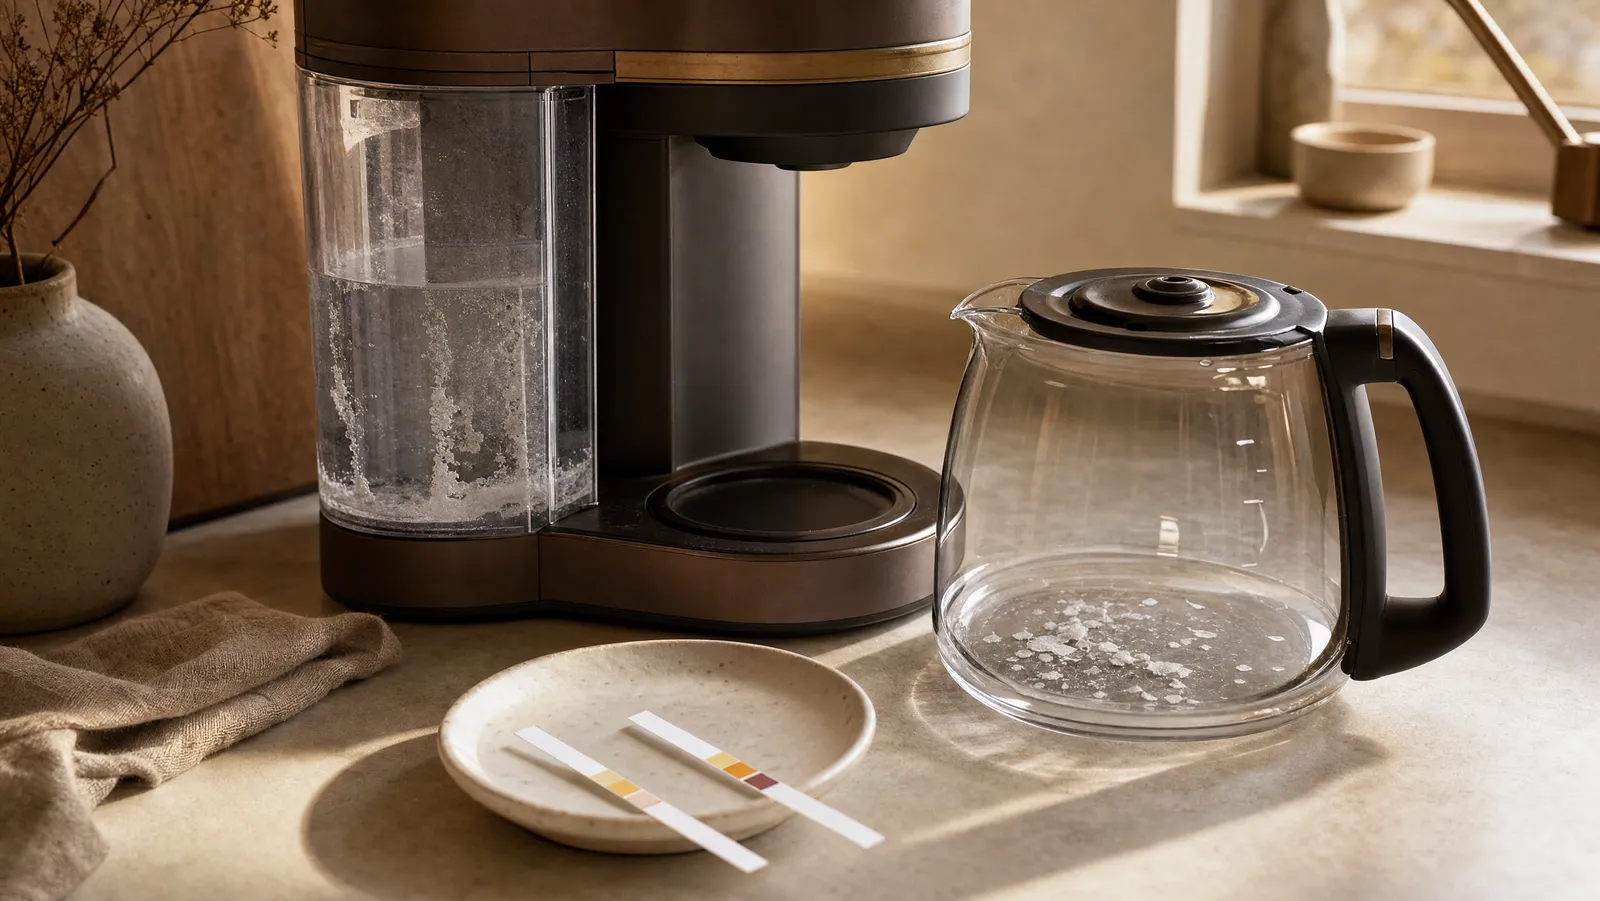
- White or grey flakes in the carafe or reservoir. That's shed scale. By this point the buildup is substantial.
- Coffee that arrives lukewarm and tastes sour. The under-temperature signature described above.
- Short cups from a pod machine. A Keurig delivering four ounces when you asked for eight has a partially blocked line, not a mood.
- The descale light is on. Worth answering directly, since it's why many people land here: "descale" on a coffee maker means simply "run a mineral-dissolving acid through me." The light is not a fault code.
What You'll Need
- A descaling product, or white vinegar if your manual permits it
- Fresh cold water — a full reservoir's worth, three times over
- The empty carafe, or a large mug for single-serve machines
- Dish soap and a soft brush for the removable parts
- About an hour, mostly unattended
- Your machine's manual, or its model number to look one up
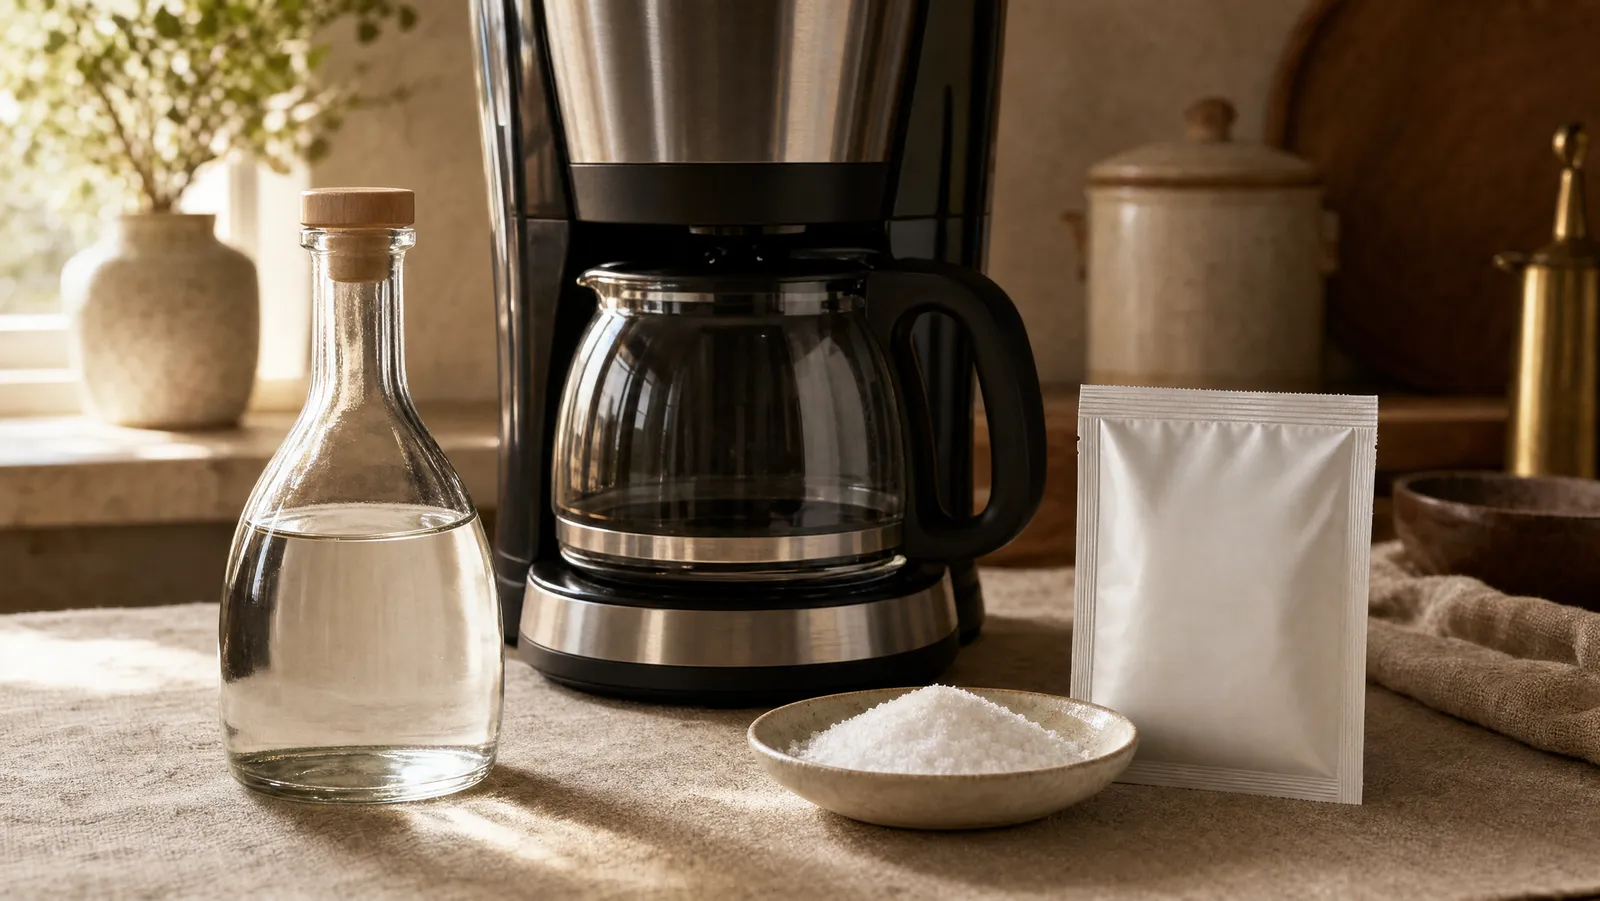
On the choice of vinegar versus a commercial descaling solution: both work, they are not interchangeable across brands, and the manufacturers genuinely disagree. Cuisinart's own cleaning guidance calls for a vinegar-and-water mix. Jura's product documentation states the opposite in plain language: use only original JURA descaling tablets, because non-recommended descaling agents such as vinegar "may contain substances that could damage the machine or leave residues." Commercial descalers are typically citric-acid based rather than acetic — Urnex Dezcal, for example, is a citric-acid powder that the manufacturer describes as non-toxic and biodegradable. Check your manual before you pour anything into the reservoir; a sibling article covers the tradeoff in full.
How to Descale a Coffee Maker, Step by Step
This is the standard drip and pod procedure. Machines with a guided descale program — most super-automatics, most Breville espresso machines — override several of these steps with on-screen prompts. Follow the machine.
Step 1: Mix the descaling solution
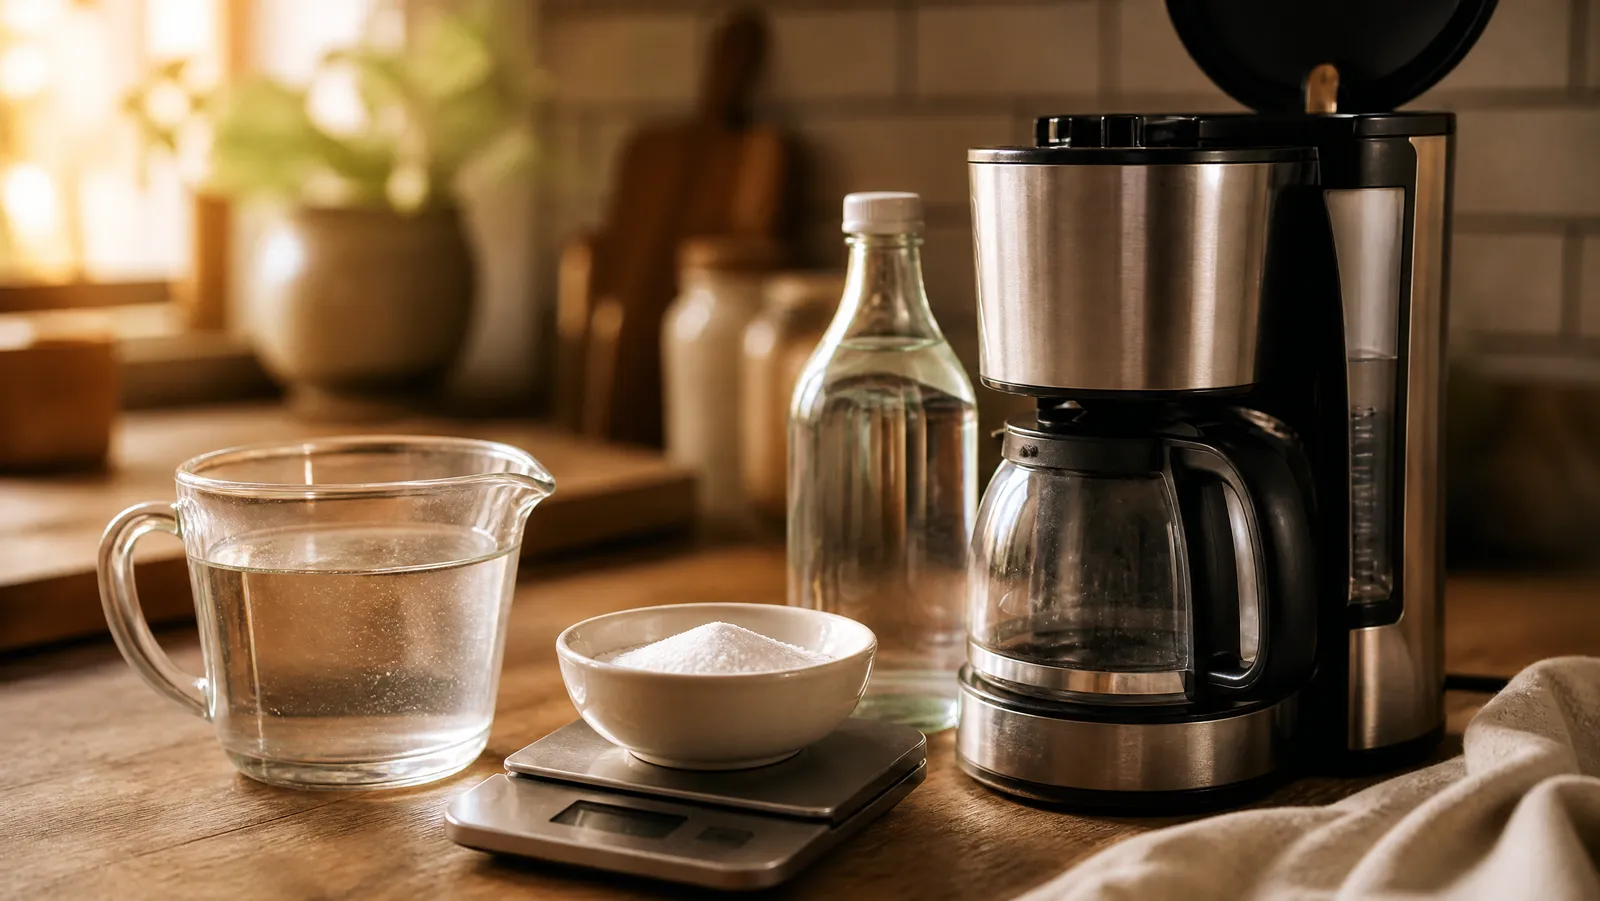
If you're using a commercial descaler, follow the label dose. Urnex Dezcal ships in 1 oz (28 g) single-use packets, and Urnex directs you to dissolve one packet per 32 oz (1 L) of warm water. Jura's instructions call for dissolving 3 descaling tablets in 17 oz (500 ml) of water and note the dissolution can take several minutes.
If your manufacturer permits vinegar, Cuisinart's own site directs owners of models with a Clean button to fill the carafe with 3 parts water to 1 part white vinegar, empty it into the reservoir, then press and hold Clean; on models without that function, run a normal brew cycle with the same 3:1 mix. Cuisinart's product manager has separately recommended a slightly stronger one-third vinegar to two-thirds water fill, so check what your own manual specifies. Fill to the machine's DESCALE line if it has one, otherwise to the max fill line.
Step 2: Empty and prep the machine
Dump old grounds and remove the paper filter. Take out the water filter cartridge if your machine has one — activated carbon absorbs descaling agents, and the cartridge will be spent afterward. Empty the carafe and put it back under the basket. On a pod machine, remove any capsule and set a large mug on the drip tray. Then power on and let the machine come up to temperature.
Step 3: Run roughly half the cycle, then stop
Start a normal brew cycle. When about half the reservoir has passed through, pause the cycle or switch the machine off.
This is the step most instructions omit, and it's the one that does the work: stopping mid-cycle leaves hot acid standing in the boiler and tubing — where the scale is thickest — instead of flushing straight through into the carafe.
Step 4: Let the solution sit
Thirty minutes is where most manufacturers land. Keurig's descaling instructions direct you to let the brewer stand for at least 30 minutes with the power still on before discarding the residual solution. Jura's automated descaling program runs roughly 30 to 45 minutes end to end, most of it unattended.
Longer is not better. Set a timer rather than walking away, and don't leave acid standing in a machine overnight.
Step 5: Finish the cycle
Switch the machine back on and run the rest of the reservoir through. Discard what lands in the carafe.
Expect it to look unpleasant — cloudy, tinted, sometimes with visible grit. That's dissolved scale leaving the machine, and it's the confirmation that the job was overdue.
Step 6: Run two to three clean-water rinse cycles
Rinse the reservoir thoroughly, refill with fresh water only, and run a complete cycle. Dump it. Repeat at least twice. If you used vinegar, run a third — acetic acid announces itself in the next cup far more than citric acid does.
There's a manufacturer-published way to check your work: Urnex suggests sprinkling a little household baking soda into the collected rinse water (in the carafe, not the machine). If it foams, descaler is still present and another rinse is warranted. If it just sinks, you're clear.
Step 7: Wash the removable parts
Hand-wash the carafe, lid, brew basket, reservoir, drip tray and — on pod machines — the pod holder, in warm soapy water with a soft brush. Check the puncture needle on a single-serve brewer for packed grounds; a straightened paperclip clears it.
Descaling dissolves minerals. It does not remove coffee oils, and rancid oils in the basket will sour a cup that's otherwise perfect.
Step 8: Reset the descale indicator
Most home machines don't sense scale directly — they count brew cycles or track water volume, so the light can keep glowing at a spotless machine until you clear it manually.
Reset procedures vary by model, usually a specific button or button pair held for a few seconds; check the manual. And resist the obvious shortcut: clearing the light without descaling just restarts the countdown on a machine still full of rock.
Descaling Different Machine Types
| Machine type | What to use | What's different |
|---|---|---|
| Drip / auto drip | Commercial descaler, or vinegar if the manual allows | The 8-step procedure above, run with an empty basket and no filter |
| Pod / single-serve | Manufacturer's descaling solution | No pod in the holder; run repeated brew cycles until the reservoir empties, then rinse the same way |
| Semi-automatic espresso | Manufacturer's descaling powder | Flush both paths — group head and steam wand — or half the machine stays scaled |
| Super-automatic | Brand tablets, guided program | Follow the on-screen program; Jura's runs roughly 30–45 minutes |
| Electric kettle | 1:1 white vinegar and water, or citric acid | Bring to a boil, let stand, discard, rinse two or three times |
On drip machines — what most people mean when they ask how to clean and descale a drip coffee maker — the job is easiest and most neglected, because no error code forces the issue. If yours has a Clean button, use it; it holds water against the heating element longer than a normal brew cycle. Models with a dedicated clean cycle make this far less of a chore, and we cover them in the best automatic drip coffee makers.
For espresso machines, Breville's manuals point to a CLEAN / DESCALE indicator and a DESCALE fill line marked on the water tank, and note that after regular use hard water can still cause mineral build-up on the machine's inner components — reducing brewing flow, brewing temperature and taste — even with the supplied filter fitted. That's also why Breville tells you to remove the filter from the tank before adding descaling powder. Breville ties its separate cleaning cycle to the machine's own indicator rather than the calendar; third-party guides commonly suggest descaling every two to three months on hard water.
Mistakes That Damage Machines
Cutting the rinse short. The most common mistake and the most avoidable. Residual acid doesn't just taste bad — you get one sour, chemical-edged pot, decide descaling ruined your machine, and never do it again. Two rinses minimum, three after vinegar.
Using vinegar where the manufacturer forbids it. Jura is unambiguous that only its own tablets should be used, and warns that other agents may damage the machine or leave residues. Where a manual says not to, using vinegar may be treated as unauthorized maintenance for warranty purposes. Check first; it takes ninety seconds.
Leaving the water filter cartridge installed. It will absorb the descaler, blunt the treatment, and need replacing anyway.
Putting acid on aluminum. Aluminum is reactive, and we'd avoid soaking aluminum components — the body of a stovetop moka pot, for instance — in an acid solution. Follow the maker's guidance for those parts rather than defaulting to the drip-machine method.
Combining cleaning products. Use one product at a time and rinse completely between them. Never mix cleaning chemicals in a reservoir, in a sink, or anywhere else.
Waiting for failure. By the time a machine sputters and delivers half-cups, scale has been degrading your brew temperature for months. A calendar reminder costs nothing. Building a setup from scratch? The Ultimate Coffee Equipment Guide 2026 is the place to think about maintenance before you buy.
Frequently Asked Questions
Can I descale with lemon juice?
We wouldn't. Lemon juice does contain citric acid, which is what commercial descalers are typically built on — Urnex Dezcal is a citric-acid formulation — but bottled lemon juice also carries sugars, pulp and preservatives you'd be depositing inside a warm, damp water path. Powdered citric acid or a purpose-made descaler gets the same chemistry without the residue.
Is it safe to drink coffee right after descaling?
Only once you've rinsed properly. Descaling agents are formulated to be flushed out, not consumed — Urnex describes Dezcal as non-toxic and biodegradable, but that's a statement about the product, not permission to skip the rinse. Run two to three full clean-water cycles, and use the baking-soda test on the collected rinse water if you want confirmation.
How many rinse cycles do I actually need?
Two full reservoirs is the floor, three if you used vinegar — and follow your manufacturer if it asks for more. Keurig's published descaling instructions go further than that floor: discard the residual solution, rinse the reservoir thoroughly, then run the fresh-water rinse cycle three times. Vinegar tends to need an extra pass before the smell clears. Rinsing is cheap. Ruining a pot of good coffee isn't.
Do I still have to descale if I use filtered water?
Yes, just less often. Carbon filters improve taste and remove chlorine, but most don't remove much dissolved calcium or magnesium — the minerals that form scale. Breville makes this explicit: its Barista Express manual warns that after regular use hard water can still cause mineral build-up in and on many of the machine's inner functioning components, reducing brewing flow, brewing temperature and taste.
My descale light won't turn off after descaling. What now?
That's normal, not a fault. Most machines count brew cycles rather than measuring scale, so the indicator needs a manual reset — typically a button held for a few seconds, with the exact combination in your manual. If the light returns immediately after a correct reset, the counter likely didn't clear; try again from a powered-off state.
Can I save a machine that's already badly scaled?
Often, though not always in one pass. If the first descale improves brew time without fully restoring it, repeat the cycle a few days later rather than doubling the acid concentration or extending the dwell time beyond what the manufacturer specifies. Heavily scaled heating elements can also fail outright — in which case descaling revealed the damage rather than caused it.
The Bottom Line
Descaling is a 45-minute job, three or four times a year, that protects your brew temperature, your flow rate, and the several hundred dollars of hardware on your counter. The procedure is trivial — acid in, wait, flush out, rinse twice more. Only two decisions matter: read the manual before choosing a solution, and don't shorten the rinse.
Put a recurring reminder in your calendar today. Then work through the rest of the maintenance list — baskets, brew heads, carafes, grinders, kettles — in Sweeter Grind's complete coffee equipment cleaning guide.